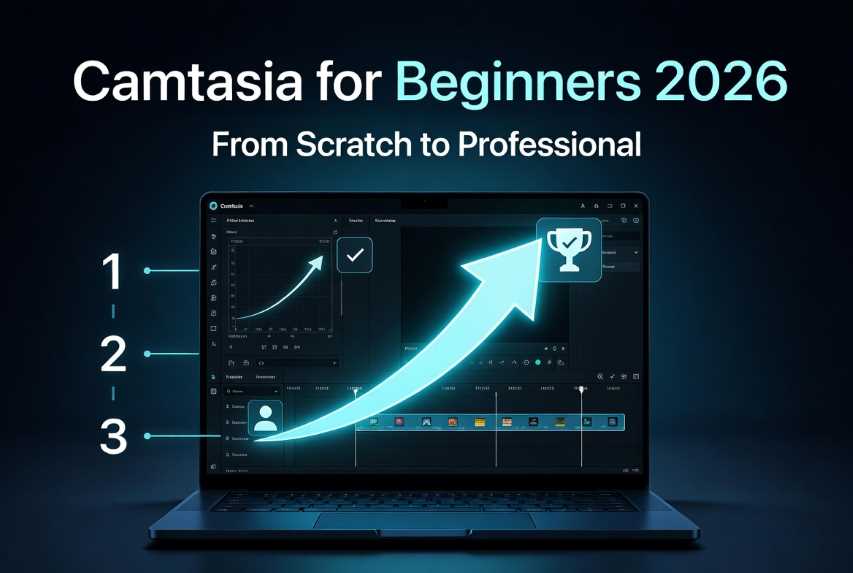
Camtasia (by TechSmith) is a powerful, user-friendly screen recorder and video editor designed for creating professional-quality videos such as tutorials, training materials, YouTube content, presentations, and e-learning courses. It combines recording, editing, and production in one intuitive platform.
As of 2026, Camtasia (version 2026) includes modern enhancements like Camtasia Rev (for instant professional polish), text-based editing via Audiate, AI-powered noise removal, dynamic captions, advanced cursor effects (Kinetic Cursor, Motion Blur, Elevation), and improved collaboration features.
This detailed, step-by-step guide takes you from absolute beginner to professional user. Follow it sequentially, practicing each section before moving on. You can download the free trial from the official TechSmith website to follow along.
Phase 1: Getting Started – Installation and Interface Basics (Beginner)
Download and Install Visit techsmith.com/camtasia and download the latest version (Windows or Mac). Install it and launch the software. The trial allows full access to all features (with watermarks on exports until licensed).
Understand the Main Interface (Camtasia Editor)
Media Bin: Stores imported or recorded files (videos, images, audio).
Canvas: Preview window showing your video output (what viewers will see).
Timeline: The heart of editing—multi-track layers for video, audio, annotations, and effects.
Properties Panel: Customize selected items (size, color, animations, etc.).
Tools/Effects Tabs: Access annotations, transitions, behaviors, cursor effects, and more.
Home/Dashboard: Quick access to New Recording, Open Project, or templates.
Project Settings Go to Project > Project Settings. Set canvas size (e.g., 1920x1080 for Full HD, 1080x1920 for vertical/Shorts, or 4K). Match your recording resolution to avoid quality loss. Enable or adjust aspect ratio lock as needed.
Pro Tip: Start with smaller projects (5–10 minutes) to build confidence.
Phase 2: Recording Like a Pro (Core Skill)
Basic Screen Recording Click Record (or New Recording). In the Recorder:
Select screen area (full screen, custom region, or specific window).
Enable Camera (webcam overlay), Microphone, and System Audio.
Toggle Camtasia Rev on for automatic professional layouts and effects.
Adjust recording area precisely and test audio levels. Press F9 (Windows) or equivalent to start/stop.
Advanced Recording Options
Record multiple tracks simultaneously (screen + camera + audio).
Use multi-monitor support.
Schedule or pause recordings.
Newer versions support collaborative recording and Zoom import.
Post-Recording with Camtasia Rev (2026 Feature) After stopping, Rev automatically suggests layouts (screen-focused, camera-focused, balanced). Customize backgrounds, apply effects to screen/camera/cursor, and use AI Noise Removal instantly. Adjust directly on the canvas without unpacking media.
Practice: Record a simple desktop tutorial (e.g., “How to use a software tool”). Experiment with Rev for quick polish.
Phase 3: Basic Editing – Building Your First Video
Import and Organize Media Drag recordings or files into the Media Bin. Use Auto Sync Media for multiple clips.
Timeline Mastery (The 3 Keys)
Cut/Split/Trim: Use the blade tool or shortcuts to remove unwanted sections.
Ripple Edit/Extend Frame: Adjust clip duration without gaps.
Tracks & Layers: Lock, mute, or hide tracks for precision. Zoom in/out on timeline.
Drag clips to rearrange; use multiple video/audio tracks.
Basic Enhancements
Add intros/outros from the library (assets include templates, music, graphics).
Cut mistakes easily with Edit as Text (2026 Audiate integration): Transcribe audio, delete words in text to remove video segments automatically.
Build Your First Video Workflow (Official Recommended Steps): Record → Apply Rev layouts/effects → Basic cuts and trims → Add titles → Export.
Phase 4: Enhancing Visuals – Annotations, Transitions, and Effects
Annotations & Callouts Add text, arrows, shapes, highlights, and blur effects. Animate them with Behaviors (fade in/out, pulse, etc.). Customize fonts, colors, and borders in Properties.
Transitions Drag transitions between clips (fades, wipes, page turns). Match duration for smooth flow.
Zoom and Pan (SmartFocus) Apply automatic or manual zooms/pans to focus viewer attention. In newer versions, apply SmartFocus directly to Rev media as a screen effect.
Cursor Effects (Advanced in 2025/2026)
Highlight, spotlight, or magnify cursor.
New: Kinetic Cursor (leading lines), Motion Blur, and Cursor Elevation for realistic, smooth interactions.
Visual Effects & Behaviors Add animations, color correction, chroma key (green screen for camera), and more from the Effects tab.
Pro Tip: Use the Library’s millions of royalty-free assets (music, icons, animations) to elevate production value without external tools.
Phase 5: Audio Mastery – Sound Like a Professional
Basic Audio Editing Separate audio tracks. Adjust volume, fade in/out, and split audio.
Voice Narration & Overdubs Record narration directly on the timeline or import audio.
Advanced Audio Tools
AI Noise Removal (2025/2026): Instantly clean background noise.
Professional effects via Audiate integration.
Add background music and balance levels.
Text-based editing: Edit audio by deleting/editing transcribed text.
Captions Generate Dynamic Captions automatically (drag style onto Rev media or timeline). Edit timing, styles, and languages. Export with embedded or separate caption files.
Phase 6: Intermediate to Advanced Techniques
Interactivity (Quizzes & Hotspots): Add clickable quizzes, tables of contents, or buttons for e-learning/SCORM packages.
Templates & Themes: Create reusable project templates for consistent branding.
Multi-Camera & Picture-in-Picture: Layer camera feeds and sync them.
Keyframing & Animations: Precise control over movement and effects.
Rev Media Fine-Tuning (2026): Adjust screen, camera, and background layers directly on canvas or Properties without unpacking.
Snagit Integration: Edit images/screenshots from within the timeline or import Snagit captures.
Workflow Tip: Use shortcuts (learn them via Help menu) to speed up editing dramatically.
Phase 7: Professional Workflows and Best Practices
E-Learning & Training Videos: Use quizzes, consistent branding, and clear cursor guidance.
YouTube/Content Creation: Optimize for SEO with thumbnails, end screens, and vertical formats.
Team Collaboration: Use Camtasia Online for shared projects and collaborative recording.
Performance Optimization: Work with proxies for large projects; organize Media Bin with folders.
Accessibility: Always add captions and test video on multiple devices.
Advanced Production Tips:
Maintain consistent resolution and frame rate.
Use ripple edits carefully to avoid desync.
Export test versions frequently.
Combine with Snagit for hybrid image + video workflows.
Phase 8: Exporting and Sharing
Export Settings Go to Export → Choose MP4 (recommended). Select resolution, frame rate, and quality. Enable Smart Player for interactive features.
Sharing Options Direct upload to YouTube, Screencast, or local file. Export captions separately if needed.
Production Best Practices
Render at highest quality for archiving.
Use batch production for multiple formats.
Test playback on target platforms.
Final Tips for Mastery
Practice Projects: Create a 5-minute tutorial, then a full course module, then a polished marketing video.
Resources:
Official TechSmith Tutorials
YouTube full courses.
Community forums and TechSmith Support.
Stay Updated: Check “What’s New” in Camtasia for AI features and improvements.
Time-Saving Mindset: Leverage Rev, Audiate text-editing, and templates to go from recording to finished video in minutes.
By following this guide progressively—starting with basic recording and editing, then layering on effects, audio, captions, and advanced tools—you’ll master Camtasia and produce professional, engaging videos efficiently.
Start today with your first recording, and revisit sections as you grow. Happy editing! If you complete a project, experiment with exporting in different formats to see the results.
 |  |  |
 |  |  |